Mahogany Striper
mahogany, koa, cocobolo
Striper
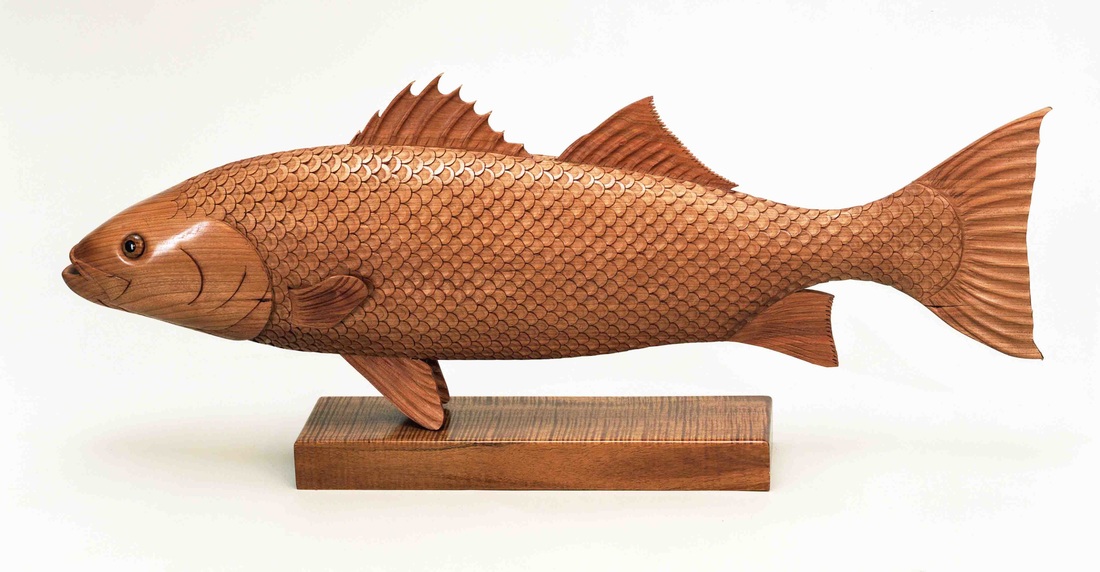
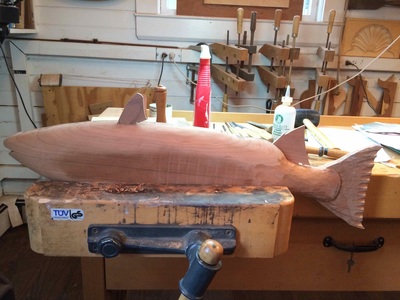
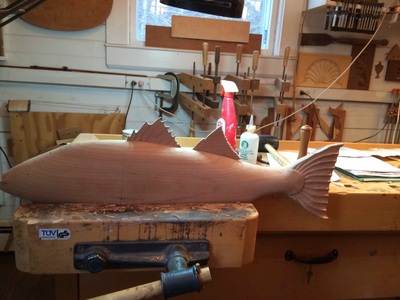
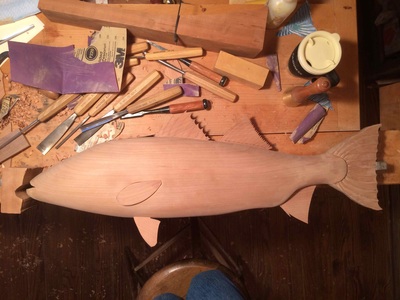
This how-to was made for John and was sent along with the rough striper cut out of the same piece of mahogany as the fish above, which was made for Len for his 60th.
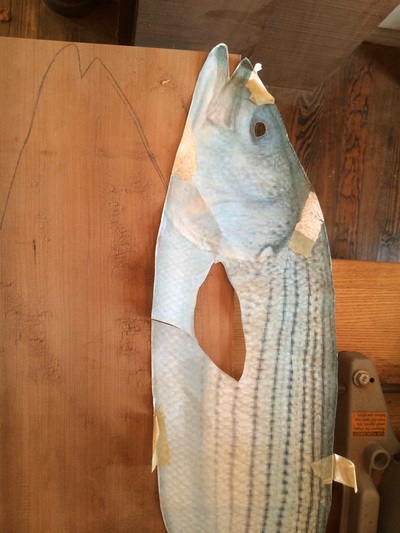
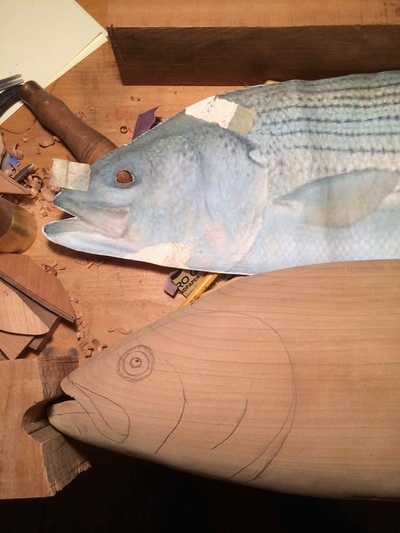
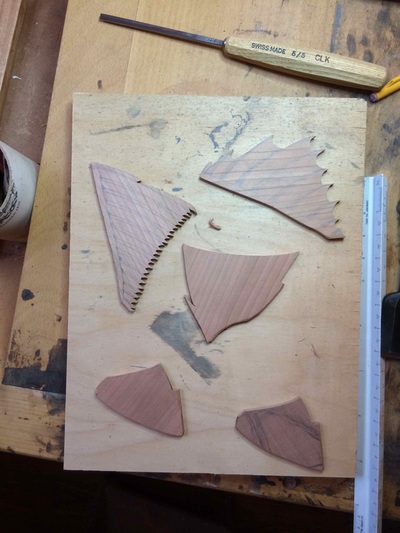
- Get a detailed drawing from the internet and take it to Kinko’s and have it blown up to whatever size you want – mine was 32”, amazing that they can do this to the exact size with no loss of resolution. Cut out the drawing excluding all of the fins except the tail fin. Keep the cut off paper fins for later use.
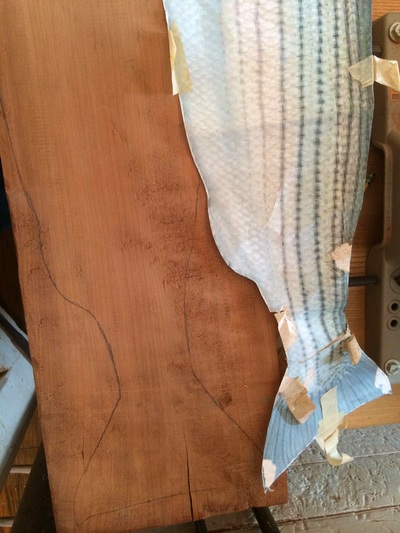
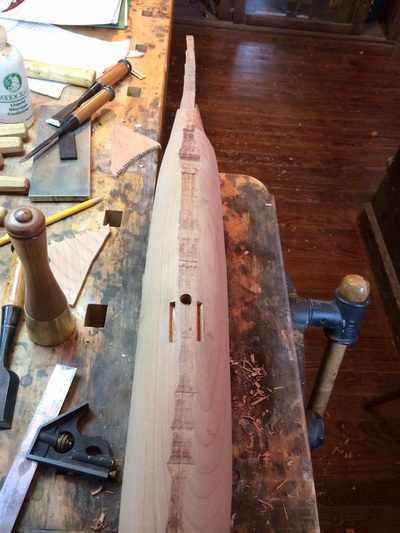
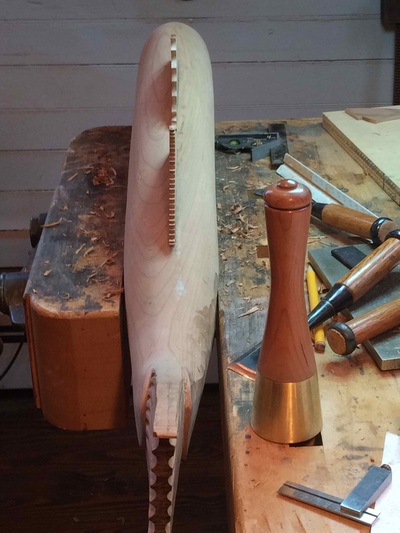
- Tape the drawing on your wood and draw an outline. Mine was 4 inch thick mahogany. Locate the eye on a drill press while the wood is still flat. I put the hole for the stand that holds the finished piece between the two fins on the bottom, that way the stand is hidden, it’s a little bit too far forward but it makes the fish look like it’s floating. You want to drill that hole once you have the fins located but before you fully shape the fish so that the hole is exactly perpendicular, useful to do on the drill press before you cut out the outline of the fish.
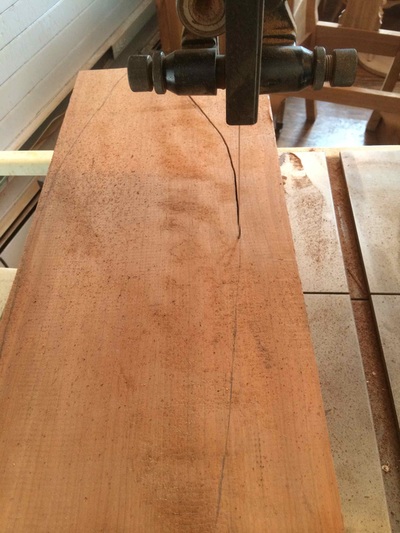
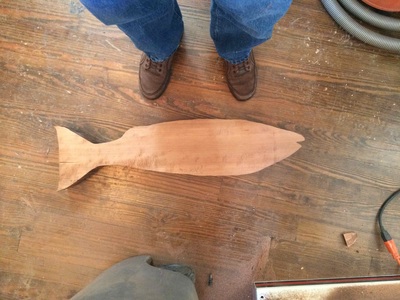
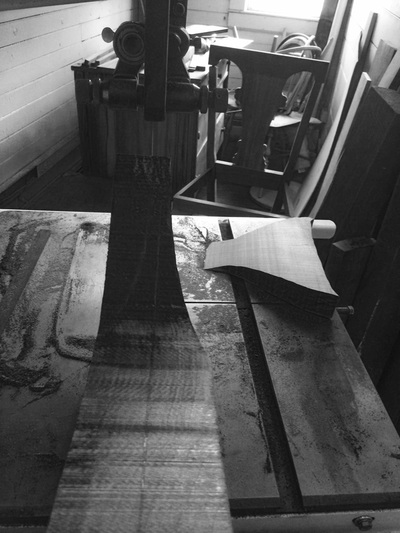
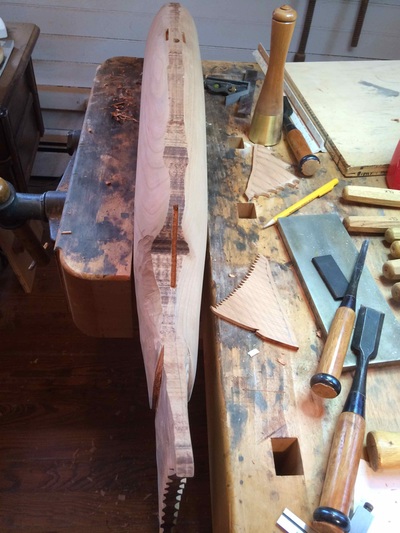
- Cut out along the outline, saving the cut-offs to use to make the fins. I found it very helpful to have a drawing where the mouth is open and when I cut it on the bandsaw I cut the mouth opening, very helpful in locating the mouth when you begin to shape. For holding the piece down I screwed a flat piece of 3/4 wood onto the back of the fish so that I could hold it in a vice flat on the workbench.
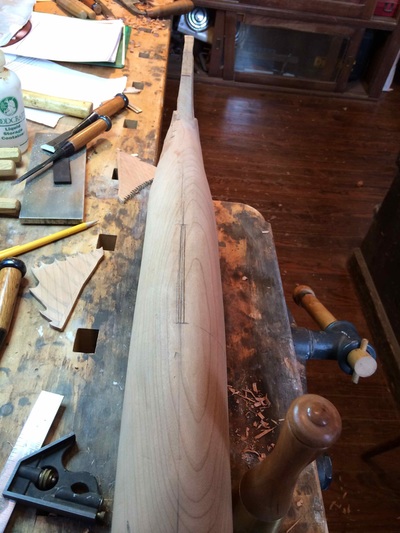
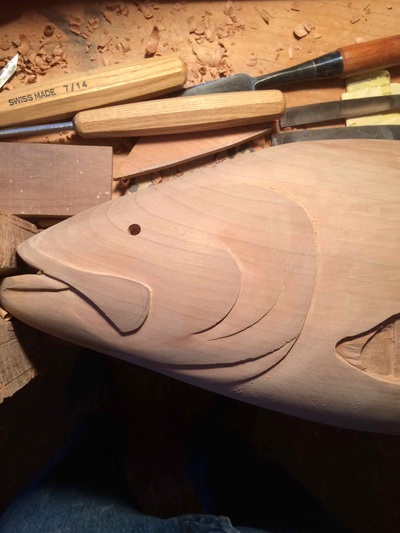
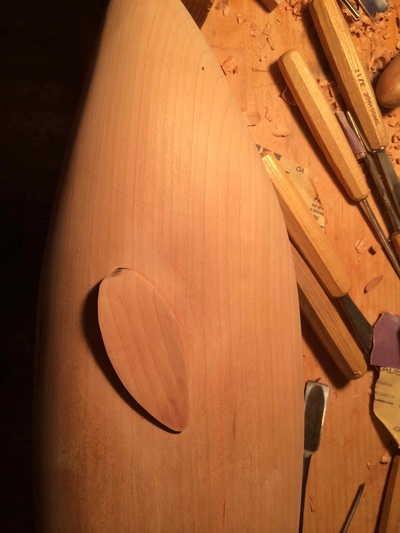
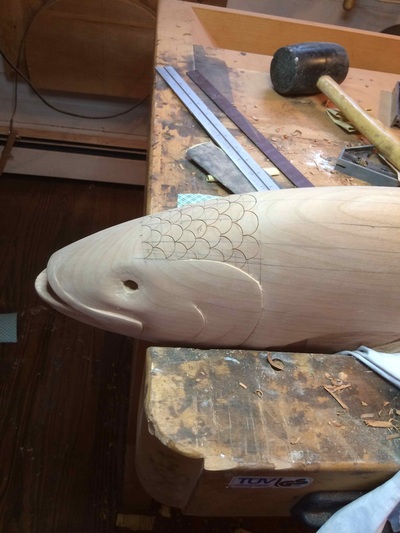
- Shape the fish. I used a big draw-knife, then a smaller pattern-makers draw-knife and for a lot of the best final shaping a Lie Nielsen Boggs spokeshave. Toughest part of the shaping is handling where the grain changes in the thin part between the body and the tail. I left the back of the fish flat. I shaped it around the edges so that you could see the full curves of the fish from most angles but from straight behind or straight ahead you can see the flat of the back. So it can sit on the stand or be laid flat on a table.
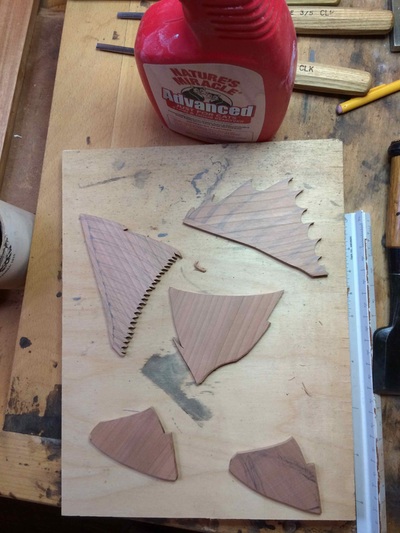
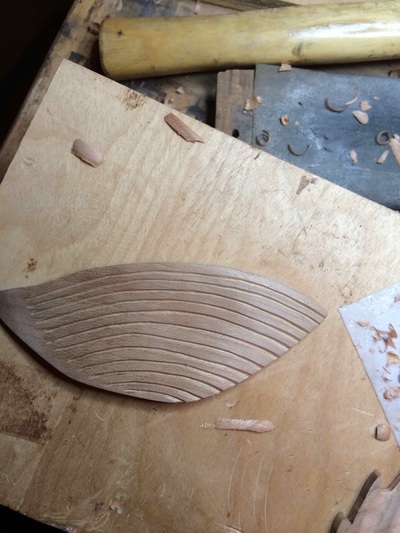
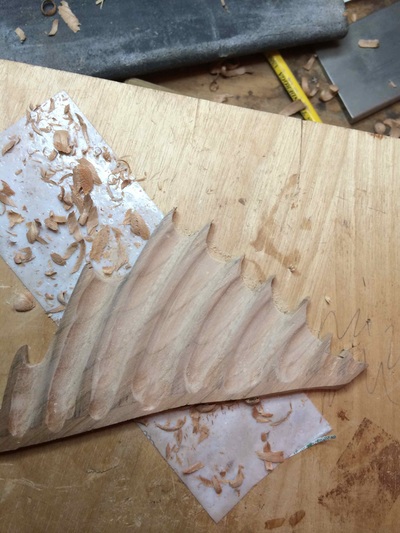
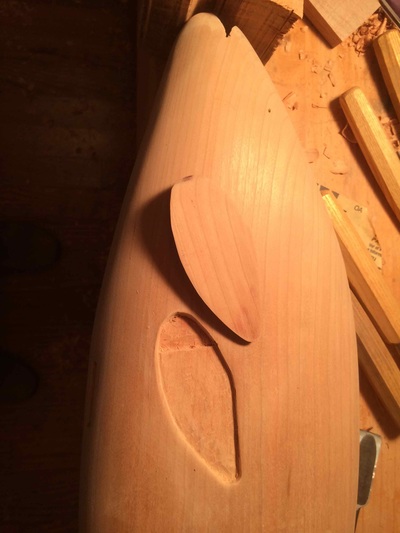
- Go to this website for a set of very helpful pictures on shaping the fish and the fins and inserting the fins http://www.flickr.com/photos/denatale/2497007318/ for all of the detail around the head and gills I found this very useful. I used the band-saw cut-offs for the fins. I cut several pieces about ¼ inch thick, sanded them flat on a belt sander and traced the pattern on them. For the back fins use the pictures you cut off the blow-up and keep as many of the sharp points as you can. For the other fins you just have to wing it.
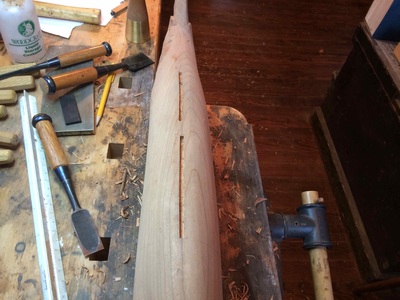
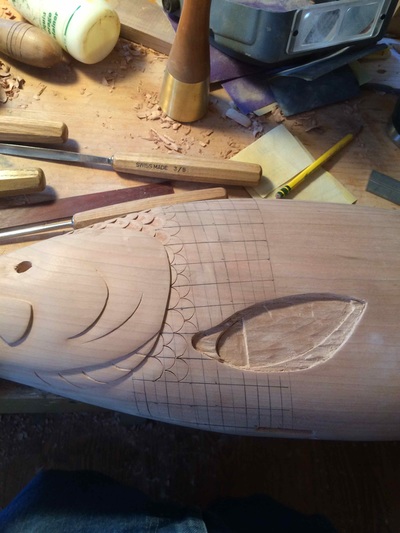
- When the fish is shaped and the fins are made and all of the channels where the fins will be put in and glued are made (I just hand cut the channels with chisels from pencil lines) you are ready for the scales.
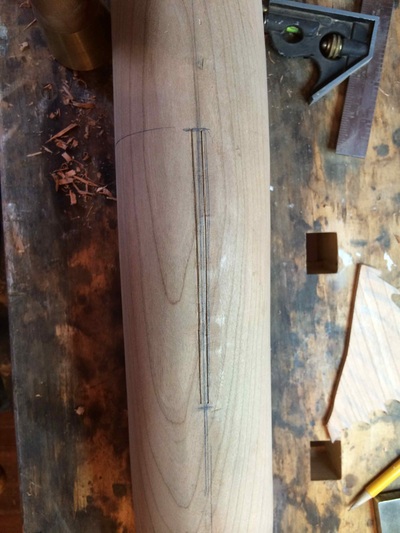
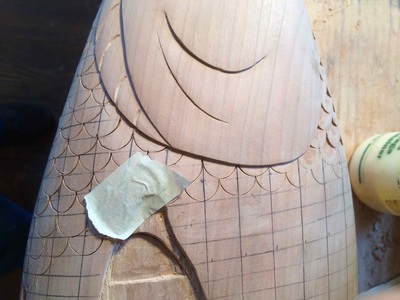
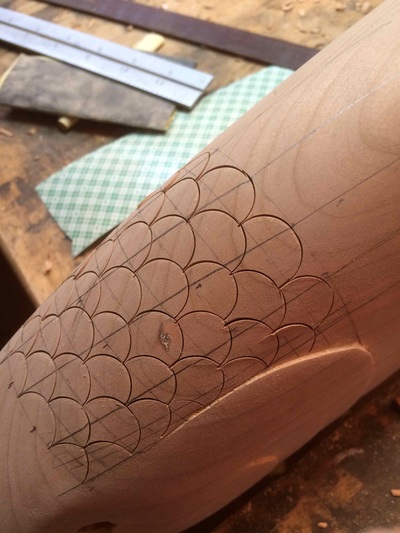
- The scales are the most fun if you are into mindless repetitive tasks. I started at the head and used a thin piece of wood that I bend around the width as a straight-edge.The parallel lines are 5/16th inches apart and the shape is set in with an # 8 13mm gauge and the scales are ideally 5/8th inch wide but the nice part about this system is that as you go down the length of the fish each new line of scales is defined by the last line of scales and it really doesn’t matter too much if they vary a bit and you can really adjust the widths when you need to. Getting the lines laid out straight is important. I had a thin piece of wood with 5 or 6 pencil marks each 5/16th from the last and I would make 5 dots up near the top of the back and then 5 at the bottom near the stomach and I would connect them with my long piece of flexible wood and I would make 5 rows at a time. You just progress down the fish from head to tail and the pattern emerges. Where the scales begin up at the head they should be a bit lighter, not cut quite as deep and then get gradually deeper two or three rows in.
- The key to the scales is the carving motion you make when relieve the center.Instead of having the chisel head go straight toward the center I found the best motion was a semi-circular cut from one edge of the scale to the other.I have tried to show it on the attachment but I can’t draw worth a damn. The edge of the scale is not touched at all, a kind of a thumbnail shaped area.
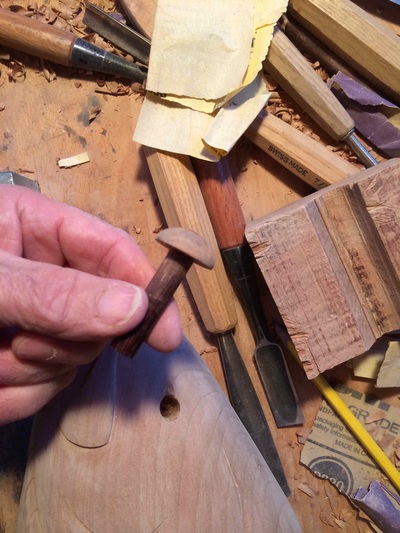
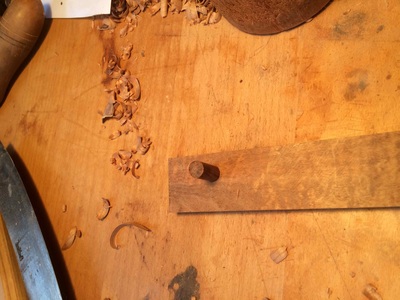
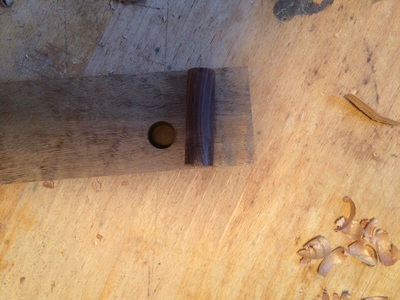
Key point - the set in cuts with the 8 13 are pretty deep, 1/8 th inch or so in the center where the two cuts meet and make a “V” but should be shallower at the top of the scale, should almost disappear.I found that making a small relief cut on the edges of the “V” with a #7F 6MM chisel makes the center cut easier.When you make the semi-circular cut in the center of the scale it is almost like you are scooping that little chip out. If you can do it in one motion it makes for a very smooth center relief area. I practiced it a few times and they all looked terrible then I just started and after the first 200 or so you get the hang of it. - The eye: for the eye I took a piece of wood – Koa in this case that I knew would look similar but not exactly the same color as the mahogany- and I drilled a 1/4 inch hole and then cut a long plug (1 inch) out of cocobolo.I glued the cocobolo plug into the koa to make the iris and the then rounded it on a belt sander and polished it with 1000 grit sandpaper and cut it off. I glued the shaped eye into a depression that I carved around the hole that I made in step 2 with the drill press.
